Installing the Microsoft App-V Management Server
Platform – Windows Server 2008 R2
Version – MDOP 2009 App-V 4.5
Username – Administrator
Pre-Requisites
Install SQL Server 2008 Express x86 (Accept Default settings\instance name)
Enable Named pipes and TCP on SQL Server Network Configuration\Protocols for SQLEXPRESS (Restart SQL Services)
Install the IIS Server role with all default services and the ones below:
ASP.NET
.NET Extensibility
ISAPI Filters
ISAPI Extensions
HTTP Logging
Request Monitor
Windows Authentication
Request Filtering
Static Content Compression
IIS 6 Management Compatibility
Create AD group – AppVUsers and AppVAdmin
Double click on the Setup.exe and click Next


Click Next
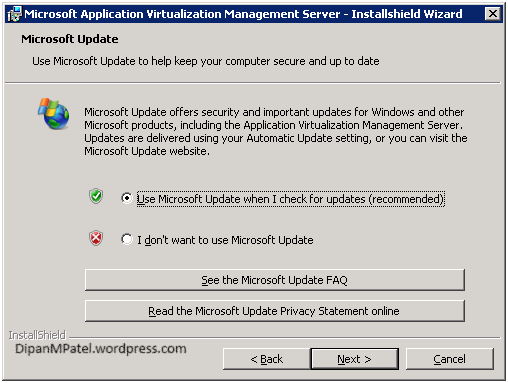
Click Next
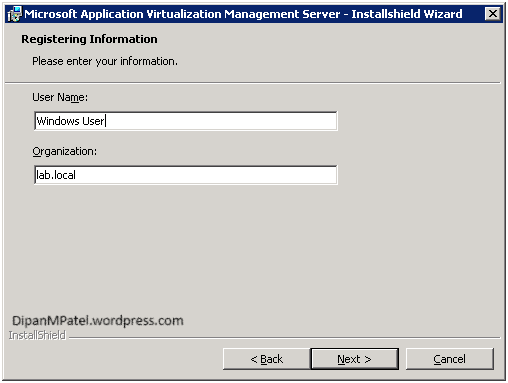
Click Next

Click Next
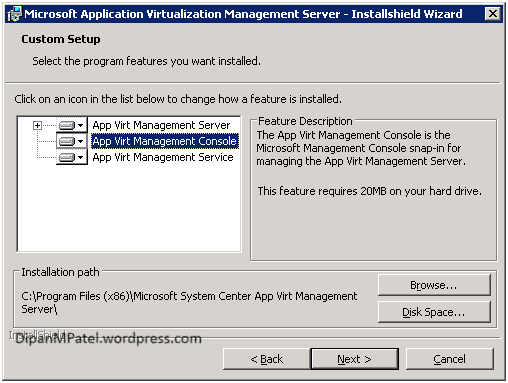
Click Next

Note: If your SQL instance and server are not showing in the drop down make sure the SQL Server Browser service is running.
Click – Next
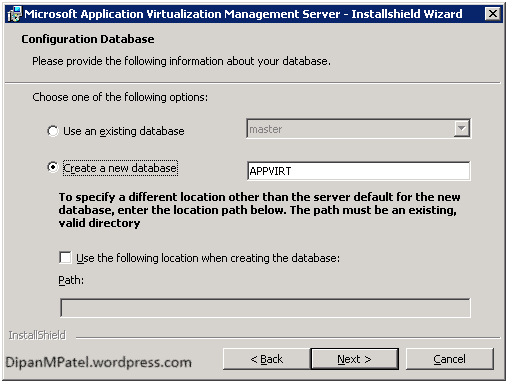
Select “Create a new Database” then click Next.

Click – Next (There is no PKI is my test lab)

Click Next

Enter the admin group we created earlier then click Next.

Click – Next

Click – Next
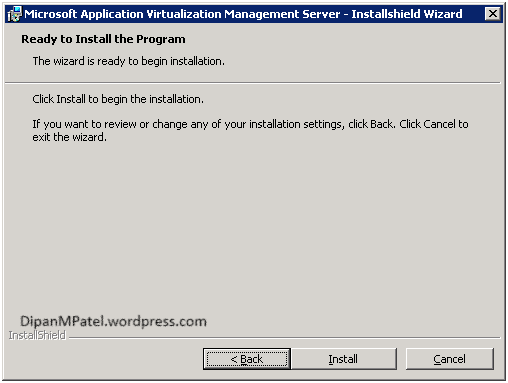
Click – Install
During the installation I came across the below error message.
“The installation program was unable to create the required IIS Virtual directory: Error 25120”
The resolution was in install the IIS Management Scripts and Tools feature the run the installation again.
After you have installed App-V Management Server you need to configure the below Windows Firewall options.
Open Windows Firewall and click on Allow program or feature through the firewall and browse to the following files.
Sghwdsptr.exe
Sghwsvr.exe
The above files are found: C:\Program Files (x86)\Microsoft System Center App Virt Management Server\App Virt Management Server\bin.

Set the shared folder for the AppV Management Console.
Browse to C:\Program Files (x86)\Microsoft System Center App Virt Management Server\App Virt Management Server\content.
Right click and share the Content folder, Share permissions use the two security groups you created earlier.
AppVAdmin – Full Control
AppVUsers – Read
Open the AppV Management server and click on Connect Application Virtualisation System.
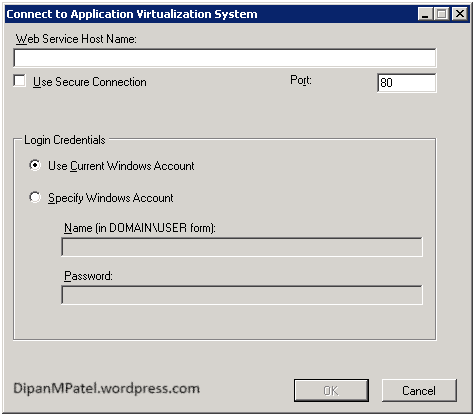
Enter the hostname of the server or localhost and click OK.
The Next Step is to configure the Default Content Path open the App-V Management Server and right click localhost and click on System Options and enter the UNC to the Content share.

Publishing the default Application
Launch the App-V Management Console, expand Applications.

Click on browse and change the paths to the default content share. (See Below)

Click on Access Permissions and confirm AppVUsers is listed.

Click on the Shortcuts tab and click Publish to User’s Desktop and click OK.

Open Windows Explorer and browse to the Content Share and double click DefaultApp.OSD and open with Notepad.

Remove the “S” in RTSPS and change the port from 334 to 554 so it reads – CODEBASE HREF=”RTSP://APPVMDT-SRV:554/DefaultApp.sft” the save the file.
