Archive
Windows Firewall – Error Code – 0x80070422
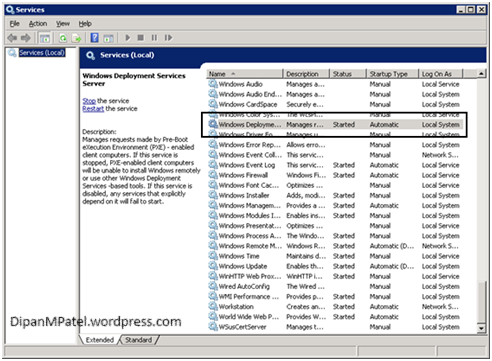
I stumbled across this error when looking, well at another issue, for some reason I wasn’t able to enable the Windows Firewall.

I’m unsure how this happened as there wasn’t anything major wrong with the server, anyhow the fix was pretty simple I only needed to restart the Windows Firewall service. (I wouldn’t usually create a blog post just for this but I think it’s worth a mention, just encase it happens again.) Once this was done the server was happy again.
Configuring WebDAV settings on Windows Server 2008 R2
Click Start / All Programs / Administrative Tools / Internet Information Services (IIS) Manager.

Feature View – Double Click WebDAV authoring.

Click – Enable WebDAV.
Click on Add Authoring Rule.

Allow Access to: All Content
Allow Access to this content to: All Users
Permissions: Read
Click OK
Click on WebDAV settings

Make the following changes:
In the WebDAV settings page for Property Behaviour, Set Allow anonymous properties queries to True.
Set Allow Custom Properties to False
Set Allow Property queries with infinite depth to True
Click on Apply then close IIS Manager

Browse to C:\Windows\System32\inetsrv\config\schema – Right click the WebDAV_Schema.xml file and scroll down to Properties\Security\Advanced\Owner – Take ownership of the file then click Apply then OK.
Give the account Full Control then click OK. Right click the file scroll down to Properties and remove the Read Only check mark then click OK – You will now be able to edit the file.
Find the below attributes and make the following changes.
<attribute name=”allowAnonymousPropfind” type=”bool” defaultValue=”true” />
<attribute name=”allowInfinitePropfindDepth” type=”bool” defaultValue=”true” />
<attribute name=”allowCustomProperties” type=”bool” defaultValue=”false” />
Click Save then Close the file.
Installing Server Roles and Features on Windows Server 2008 R2
Open Server Manager and click on Add Roles Wizard.

Click Next

Click on the Web Server Role then click Next.

Click Next
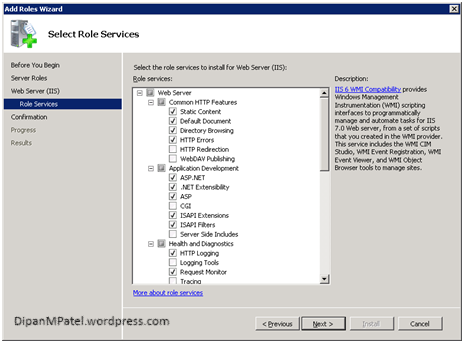
Application Development install the below services
ASP.NET
.NET Extensibility
ASP
ISAPI Extensions
ISAPI Filters
WebDav Publishing (Missed off the screenshot)

Security:
Windows Authentication
IIS 6 Management Compatibility:
IIS 6 Metabase Compatibility and IIS 6 WMI Compatibility

Install Remote Differential Compression.
Open Server Manager\Features\Add Features.

Place a tick in Remote Differential Compression and click Next.
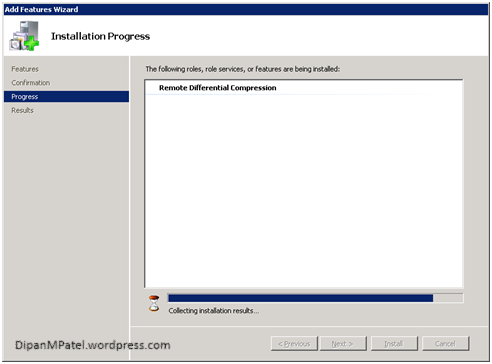
Click Install

Click Close
Open Server Manager\Add Feature place a tick in Background Intelligent Transfer Service BITS and click on Add required role services to the below prompt.
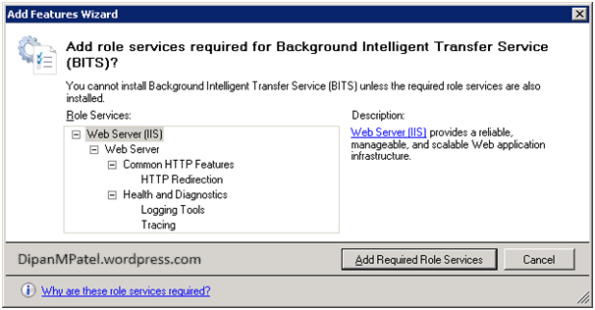
Accept the default and complete the installation. (Reboot the server)
Preparing AD for ConfigMgr
To Prepare AD for the SCCM 2007 R3 (SP2) installation follow the below guidelines – LAB
All of the below tasks are carried out using the Homelab.local\Administrator logon. This logon must be a member of the Enterprise Admins and Schema Admins and also be added to the local Administrators group on the purposed SCCM server.
Extending the Schema
- Take a backup of the Domain Controller, either a snapshot if the DC is in a virtual environment or backup the NTDS.DIT file.
- Log onto the proposed SCCM server and run the SCCM prerequisite checks from the CD-ROM, one of these checks will check to make sure the Schema has been modified. When you run this it will fail on the Schema check.
- Open the CD and browse to SMSSETUP\BIN\I386 and locate the “ExtADSch.exe” file, double click this file and it will run through. (Only takes a few seconds)
- Browse to the root of C:\ and open the “ExtADSch.log” file and look for the line
“Successfully extend the Active Directory schema”
Creating the System Management Container in AD
- Log onto the Domain Controller and run ADSI Edit from Administrative Tasks and connect to the domain in which the site server resides. (IMS.local)
- Expand the Domain (homelab.local), right click “CN=System” click “New” and then click “object”.
- In the “Create Object” dialog box, select “Container,” and then click Next.
- In the “Value” box, type “System Management” and click Next.
- Click Finish
Adding the Computer Object Full Permissions
- Open Active Directory Users and Computers; make sure the Advanced Features is selected under the View option.
- Once it is, in the left pane select System and scroll down to the System Management container you created earlier.
- Right Click and choose Properties, then select the Security tab.

- Click on Add, then add Object types as in the below screenshot and place a tick box in Computers.

- Add in the name of the SCCM Server (Computer Object) into the ACL and assign full control then click on Advanced, select the SCCM Server and click on Edit and use the drop down to change the permission from “This Object only” to “Full access to this object and all descendant objects” click OK when done
(Add the computer object into the Security ACL of the System Management folder assigned Full control to this object and ALL CHILD OBJECTS, DO THIS BEFORE THE INSTALLATION OF SCCM)
The link to the Technet article is found here
Installing the Microsoft App-V Management Server
Platform – Windows Server 2008 R2
Version – MDOP 2009 App-V 4.5
Username – Administrator
Pre-Requisites
Install SQL Server 2008 Express x86 (Accept Default settings\instance name)
Enable Named pipes and TCP on SQL Server Network Configuration\Protocols for SQLEXPRESS (Restart SQL Services)
Install the IIS Server role with all default services and the ones below:
ASP.NET
.NET Extensibility
ISAPI Filters
ISAPI Extensions
HTTP Logging
Request Monitor
Windows Authentication
Request Filtering
Static Content Compression
IIS 6 Management Compatibility
Create AD group – AppVUsers and AppVAdmin
Double click on the Setup.exe and click Next


Click Next
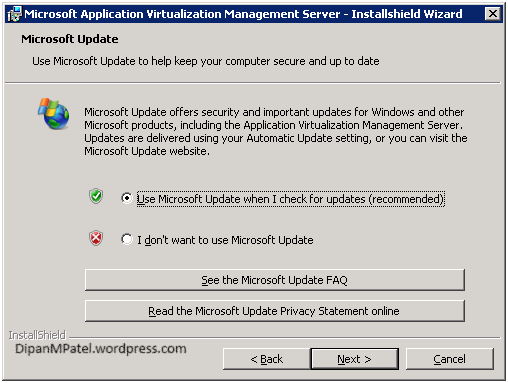
Click Next
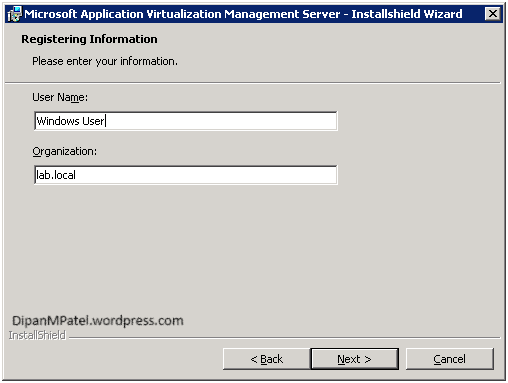
Click Next

Click Next
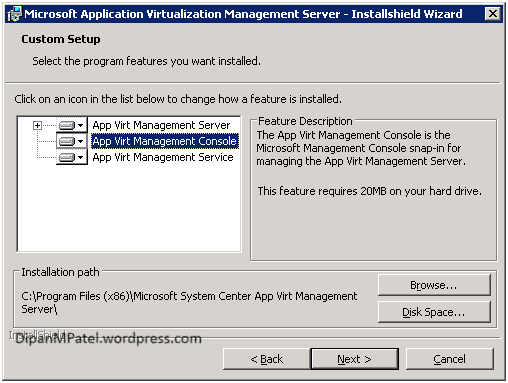
Click Next

Note: If your SQL instance and server are not showing in the drop down make sure the SQL Server Browser service is running.
Click – Next
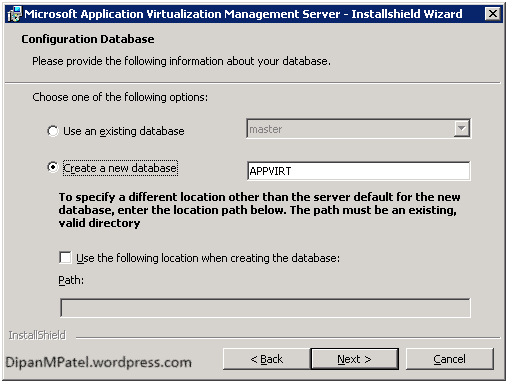
Select “Create a new Database” then click Next.

Click – Next (There is no PKI is my test lab)

Click Next

Enter the admin group we created earlier then click Next.

Click – Next

Click – Next
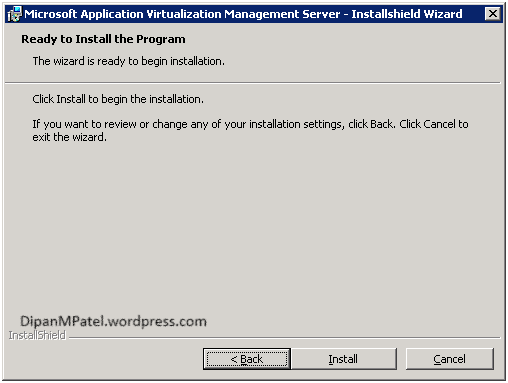
Click – Install
During the installation I came across the below error message.
“The installation program was unable to create the required IIS Virtual directory: Error 25120”
The resolution was in install the IIS Management Scripts and Tools feature the run the installation again.
After you have installed App-V Management Server you need to configure the below Windows Firewall options.
Open Windows Firewall and click on Allow program or feature through the firewall and browse to the following files.
Sghwdsptr.exe
Sghwsvr.exe
The above files are found: C:\Program Files (x86)\Microsoft System Center App Virt Management Server\App Virt Management Server\bin.

Set the shared folder for the AppV Management Console.
Browse to C:\Program Files (x86)\Microsoft System Center App Virt Management Server\App Virt Management Server\content.
Right click and share the Content folder, Share permissions use the two security groups you created earlier.
AppVAdmin – Full Control
AppVUsers – Read
Open the AppV Management server and click on Connect Application Virtualisation System.
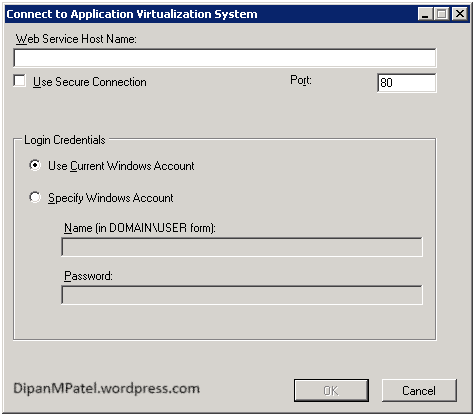
Enter the hostname of the server or localhost and click OK.
The Next Step is to configure the Default Content Path open the App-V Management Server and right click localhost and click on System Options and enter the UNC to the Content share.

Publishing the default Application
Launch the App-V Management Console, expand Applications.

Click on browse and change the paths to the default content share. (See Below)

Click on Access Permissions and confirm AppVUsers is listed.

Click on the Shortcuts tab and click Publish to User’s Desktop and click OK.

Open Windows Explorer and browse to the Content Share and double click DefaultApp.OSD and open with Notepad.

Remove the “S” in RTSPS and change the port from 334 to 554 so it reads – CODEBASE HREF=”RTSP://APPVMDT-SRV:554/DefaultApp.sft” the save the file.
Unable to start WDS – Error Code 2310
OS: Windows Server 2008 R2
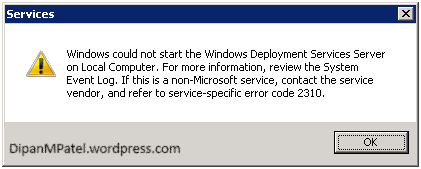
I recently installed the Windows Deployment Service Server Role using Server Manager then rebooted the server. After the restart I noticed that the service was not running, I attempted to start the service manually and got the below error.
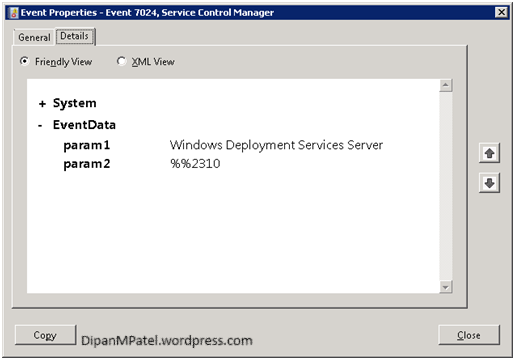
I checked both my C:\ and E:\ drives and there was no RemoteInstall folder checked Event Viewer and found the below event.
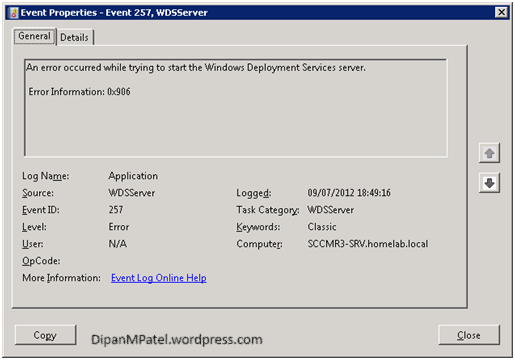
I opened Server Manager then clicked on the WDS role and found the below event.
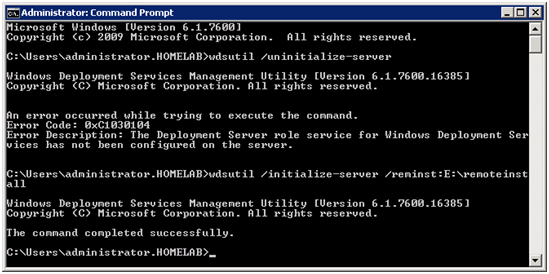
I ran the wdsutil /uninitialize-server command but got the below message
“An error occurred while trying to execute the command.
Error Code: 0xc1030104
Error Description: The Deployment server role service for Windows Deployment Services has not been configured on the server”
Even though I have installed the WDS server role from Server Manager.
I then ran wdsutil /initialise-server /reminst:E:\remoteinstall – E:\remoteinstall the location where I want the WDS folder configured. The command ran successfully and after a server restart I was able to start the Windows Deployment Services.
I checked my E:\ for the remoteinstall folder and it had appeared. (See below)
Event Viewer confirmed the service started successfully.
Since I was planning on using the server for Operating System Deployment with ConfigMgr, I installed the Microsoft Deployment Toolkit 2010 and ran the Configure ConfigMgr Integration addidtional folders appeared.
SMSBoot
SMSIMAGES
SMSTemp
If you’re not using ConfigMgr than the last step is N\A

After installed the PXE Server role with ConfigMgr I checked the pxesetup.log file
