Archive
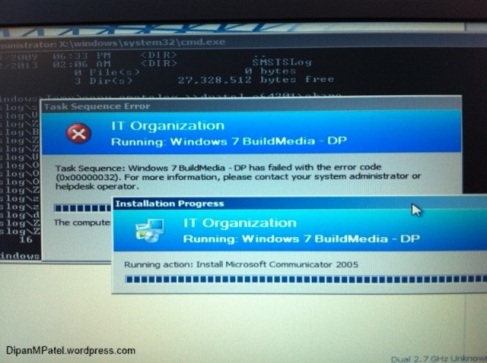
Task Sequence failed with the error code 0x00000032
I came across the below error message in my lab the other day and I wasn’t even trying to deploy software in that TS!
Anyway, since I got the error i felt obligated to fix it! (As we do in IT!) I began by looking at the SMSTS.LOG.
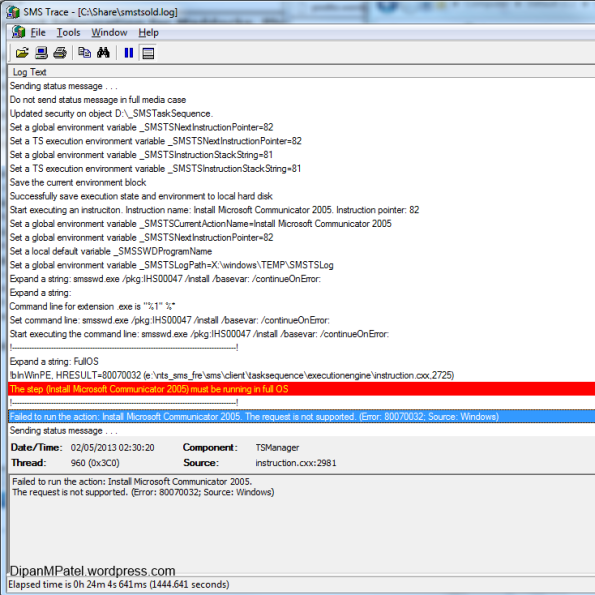
This was simple to resolve, I moved the install software step into the “State Restore” section (or after) and the install went through as expected.
Task Sequence has failed with error code 0X00002004
I was experimenting with User State Migration Point and an in-place upgrade (In my case just a Windows 7 re-install) and after I had everything setup in my lab I ran the task sequence however I came across the below error message.

The error appears just as the TS requests the user state store. (Both of the test systems do not have KB974571 installed.) I was able to re-create the error on another machine and after looking into this further I found a fix on the Microsoft forum. I applied the fix found here and ran the TS successfully without issue.
Configuring the Reporting Services Point
OS –Windows Server 2008 R2
ConfigMgr 2007 R2
SQL Server 2008 R2
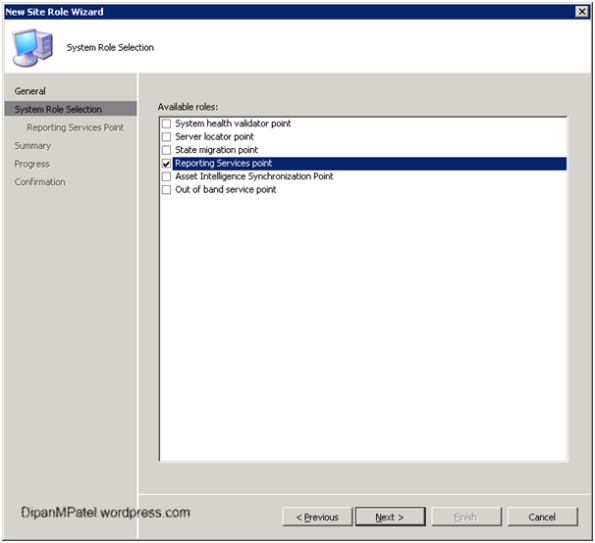
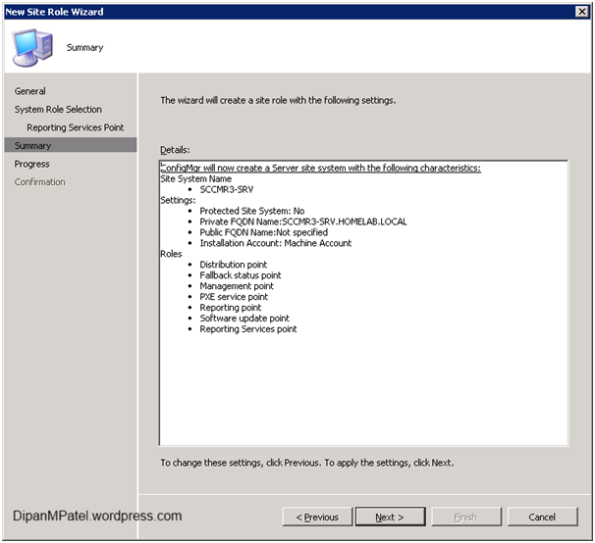
To install the Reporting Services Point is straightforward; on your site server expand Site Database, Site Management, site_name, site settings, site systems and site server then click on New Roles click next to the New Site Role Wizard and place a tick in Reporting Services Point.
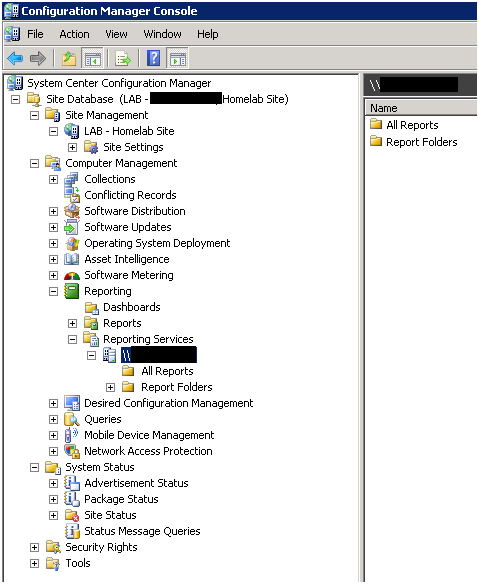
Expand Computer Management\Reporting\Reporting Services\Servername you will see All Reports and Report Folders
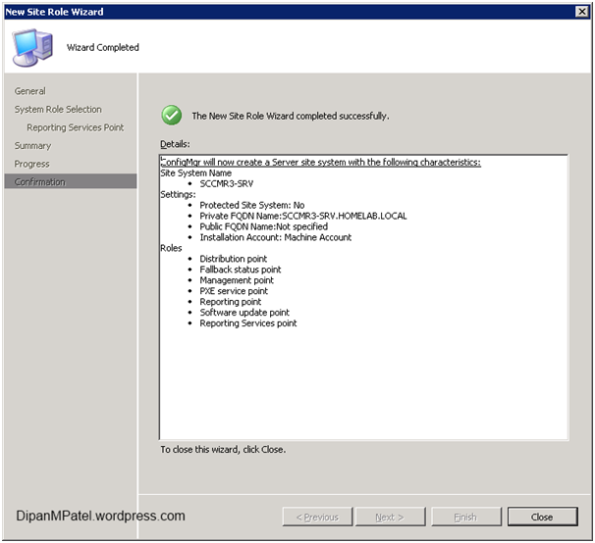
Open the SRSRSetup.log and you’ll see installation was successful.
The next step is to configure the Reporting Services Point.
Expand Reporting\Reporting Services then right click the servername and select Properties
Data Source Settings enter in your Servername\instance and database name in the field below then click Test.
Data Source Authentication
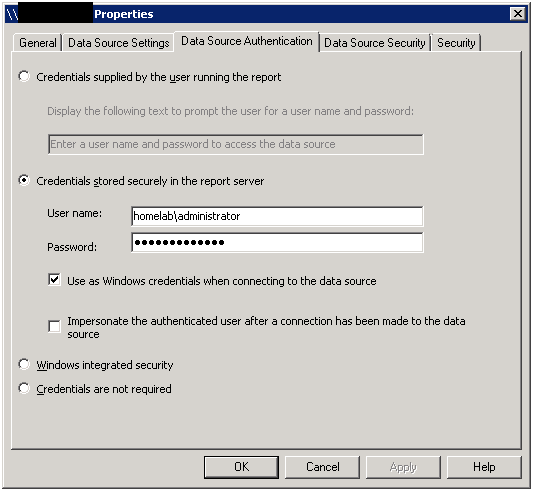
Select whichever best suits your environment, the last two tabs I left with default settings then clicked Apply
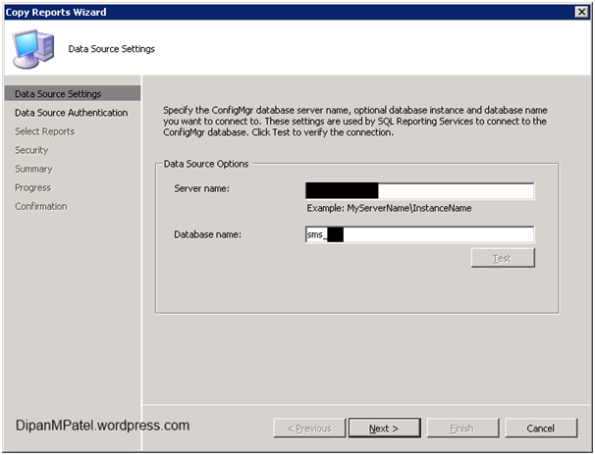
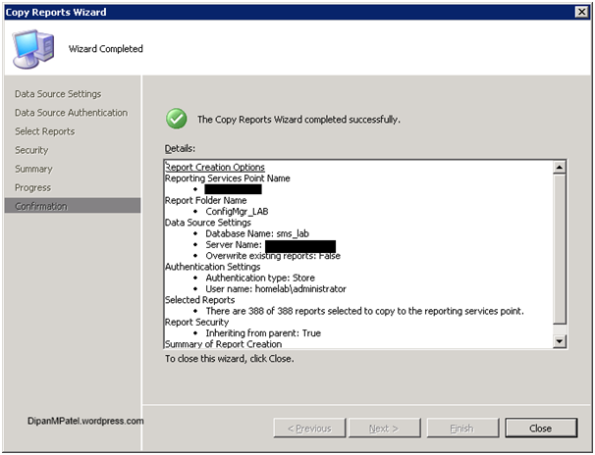
The last thing left to do is to copy the reports, expand Reporting\Reporting Services then right click the servername and select “Find correct text”
Enter in your server name, SQL instance name and ConfigMgr database name then Click – Next

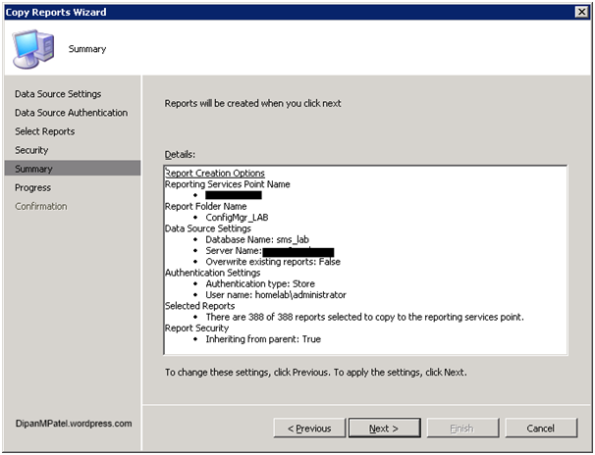
Enter in your authentication details and click Next

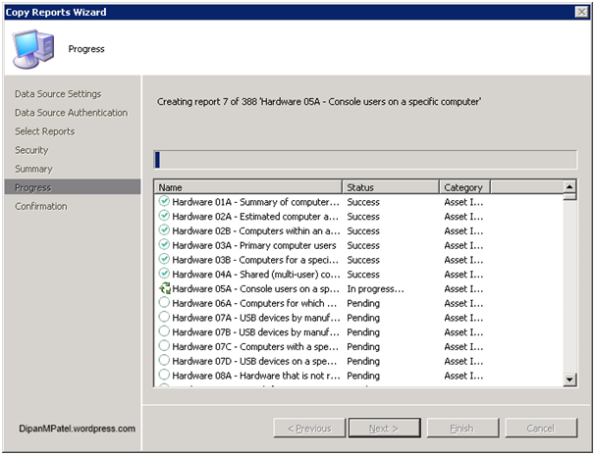
You can then run the reports. (See Below)
When began to set this up I did come across a few issues.
Creating a Task Sequence
(There are many customisations you can make, the below is the basic sequence to deploy an image)
Expand “Operating System Deployment” and right click on “Task Sequence” and select “New\Task Sequence”


Click “Next”

Give a name for the task sequence and comment. The boot image you select will be the same architecture as the reference computer; in this case we know the Dell V130 is an X64 bit computer. Click “Next”

The Image Package is the image you recently captured from a reference computer then uploaded to the distribution point.
Image is 1-1 this is the C:\ on the reference computer if you have more than one partition or external USB drive connected these will appear as 2-2 and 3-3
Enter in the local Admin password to be used on the machine and click “Next”
Note: When I deployed this image it failed this is because the machine was built manually then an image captured from it. When a machine is manually built Windows created a 100MB system reserved partition which holds the Boot Manager and boot files by default. This partition separates the boot manager from the Windows OS files; the purpose of this is for the future use of Bit Locker. If BitLocker is being used, the boot manager and files reside on the partition that isn’t encrypted. The Windows OS partition will be encrypted.
Since IMS Research will not be utilising BitLocker, select 2-2 which contains the Windows OS from the captured .WIM file.
More information is found at – http://blogs.technet.com/b/configurationmgr/archive/2010/04/12/how-to-set-up-a-task-sequence-to-deploy-windows-7-images-captured-via-an-sccm-2007-capture-cd.aspx

Optional but I would like this machine to be joined to the domain so click Browse and select the domain then browse to the OU you would like to place the machine in. In this case I have chosen the X64 bit OU for Windows 7 client in the UK
Enter in the domain admin username and password then click “Next”
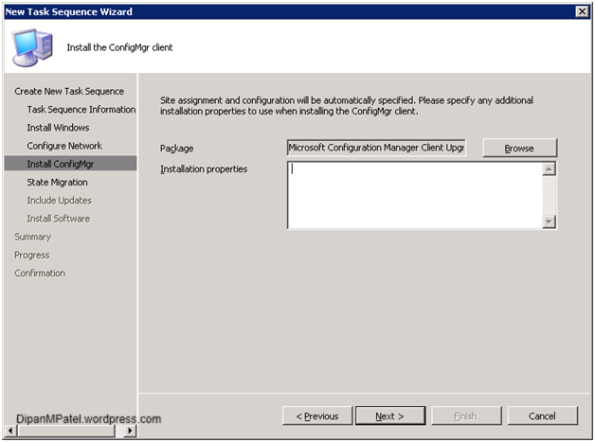
We want to install the SCCM client so click Browse and select the package and click “Next”

Un-tick all the options on this screen and click “Next”

We do not want to install Windows Updates – click “Next”

We have no other packages to install – click “Next”, “Next” again
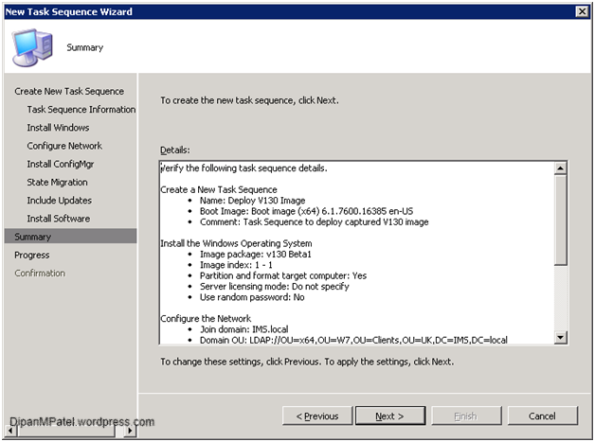
Click “Next”

Click “CLOSE”

You can now see the newly created Task Sequence, right click and select “Edit”. (See below; look at the order of tasks under “Install Operating System”)

Drag – “Apply Network Settings” Under “Setup Operating System”
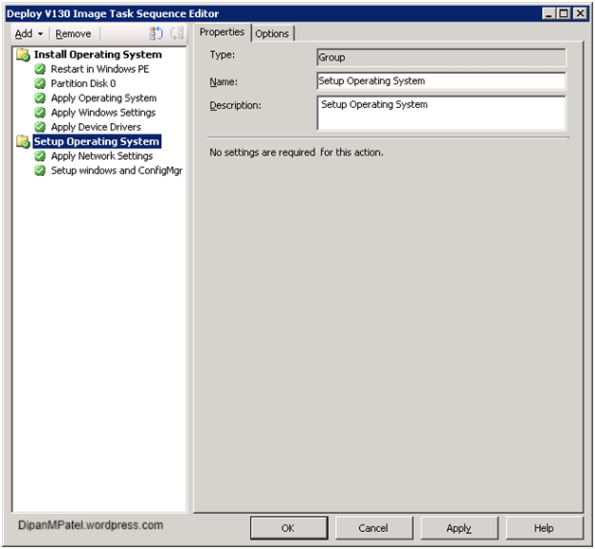
In the previous configuration it would have tried to join the computer to the domain before installing Network drivers.
Importing the Image file into ConfigMgr
Expand Operating System Deployment and right click Operating System Images and select “Add Operating System Image”

Enter in the full UNC path to the .WIM file and click “Next”

Click “Next” until the wizard completes then click Close.
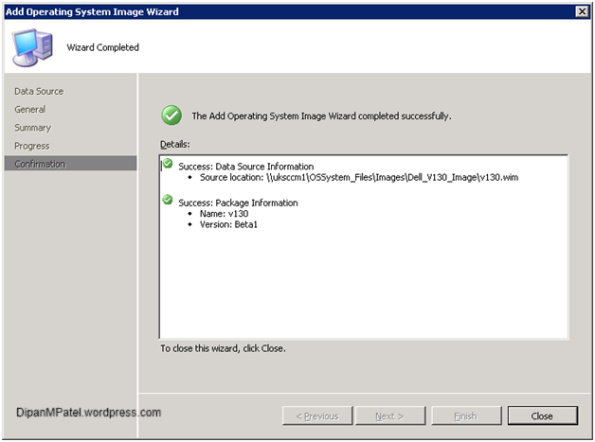
Now you will see this image under Operating System Images
Expand the image and right click “Manage Distribution Point”

Click “Next”
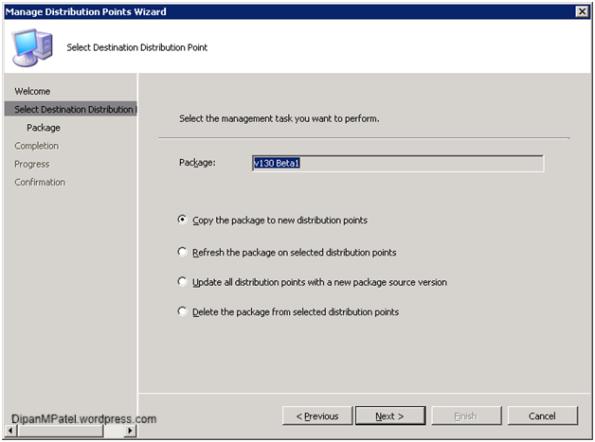
Click “Next” accepting the default settings.

Select the Distribution Point, since this is not a boot image it does not need to go on SMSPXEIMAGES$ PXE DP, click “Next”
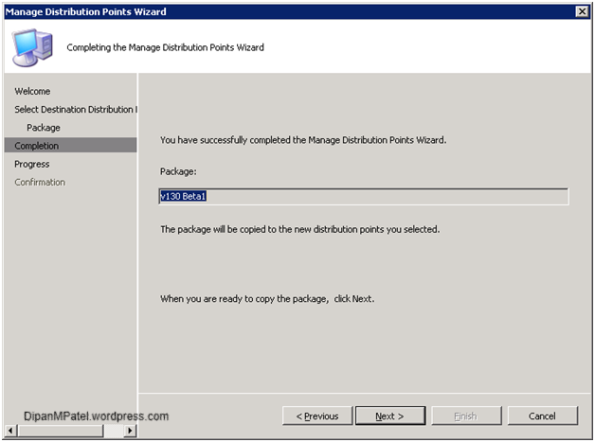
Click “Next”


Click Close
If you expand the v130 image and expand “Package Status\Package Status\Site_Code” you can see the image on the distribution point.

Capture a Image from a reference system
Once you have installed all the software and made configuration changes to the reference computer you need to capture the image. The capture process requires the below.
- Local Administrator account needs to be blank
- Windows Firewall needs to be disabled.
- You cannot capture the image to the C:\ of the reference computer or use a USB device. When setting up the reference computer create a 10GB partition to store the image file. (.WIM)
Connect onto the SCCM server then expand “Operating System Deployment” and right click “Task Sequences” and select “Create Task Sequence Media”


Select “Capture-Media” and click “Next”

Select either USB or CD/DVD Set (In this case CD/DVD Set) and click “Browse”

Specify a name and location for the .ISO file and click “Save” then Click “Next”.

Depending on the OS you are capturing select either the X64 or X86 boot image then click “Next” and “Finish” It will then create the ISO at the location you specified.
If no distribution point option appears it means that the boot image still needs to be moved to the DP. You can do this by following the below instructions.
Under “Operating System Deployments” expand “Boot Images”, expand the boot image then right click “Distribution Point” and click on “Manage Distribution Point”
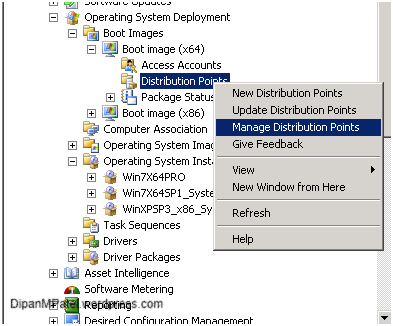

Click “Next”

If the Boot image has never been on the DP then select the first option and click “Next”
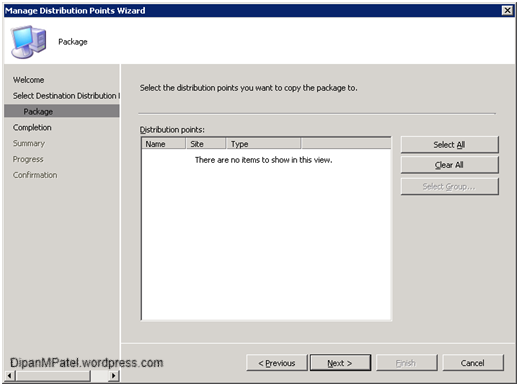
Select the DP from this screen and click “Next” (This boot image is already on the DP so it will not show any DP’s)
Once the .ISO file has been created, burn it to a DVD. Boot the reference computer from the CD-ROM drive and the capture media set will ask for a location to copy the .WIM file to (Select another partition on to create the image too or browse to a network share) and hit next.
The capture sequence will run (This can take some time) and restart the machine, once finished a message will appear stating the capture was successful.
Then copy the .WIM file to a share on the SCCM server and follow the instructions outlined in;
Initial Server and ConfigMgr Setup for OSD
To utilise SCCM OSD deployments you must have DHCP setup in your infrastructure. If you environment consists of more than one subnet you will need to enable IP Helper’s on the routers between subnets. Since IMS only have the one subnet this is not an issue.
1 – Server Setup for Windows Server 2008 R2
Install the Windows Deployment Service (WDS) Server role from Server Manager then restart the server.
Download the Microsoft Deployment Toolkit Update 1 x64 from Microsoft and install accepting all default settings.
2 – SCCM changes for OSD Deployments
Install the PXE Server Role on SCCM
Within the console, expand Site Management\Site_Code\Site Settings\Site Systems\Site_Server from the Actions Pane click on “New Roles”
Click “Next” on the first screen then select the “PXE Service Point” then click “Next”, click on “Yes” to accept the warning regarding firewall ports that will be opened and then place a tick in “Allow this PXE serviced point to respond to incoming PXE requests” then make sure the “Specify the PXE server response delay is set to 0” click “Next” twice then “Finish” Once installed the new role will appear with the other server roles.

Changing the Site Boundary to IP based
Expand Site Database\Site Management\IMS – SCCMDEV\Site Settings\Boundaries then click on New Boundary from the Actions pane.

Match the settings to the above image and click on Apply; you can then delete the old Active Directory boundary.
Note; we change the boundary to IP based because we have machines that are not members of the Active Directory domain so they need a way to communicate with Configuration Manager.
Computer Client Agent
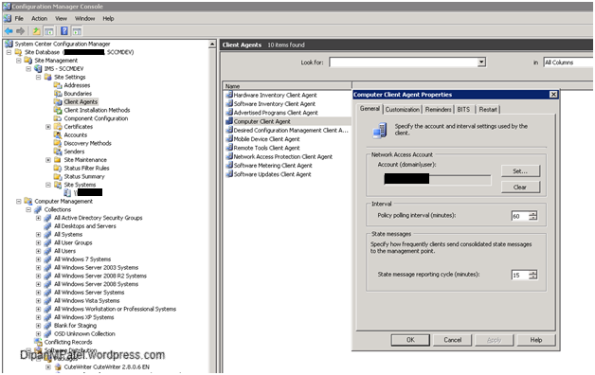
Right click Computer Client Agent and select Properties and under Network Access Account enter a username which has high privileges on the network then click OK.
Create a Computer Collection for OSD Staging
Right click “Collection” and select “New Collection” enter a description then accept all the defaults.
ConfigMgr Integration
Click Start\All Programs\Configure ConfigMgr Integration
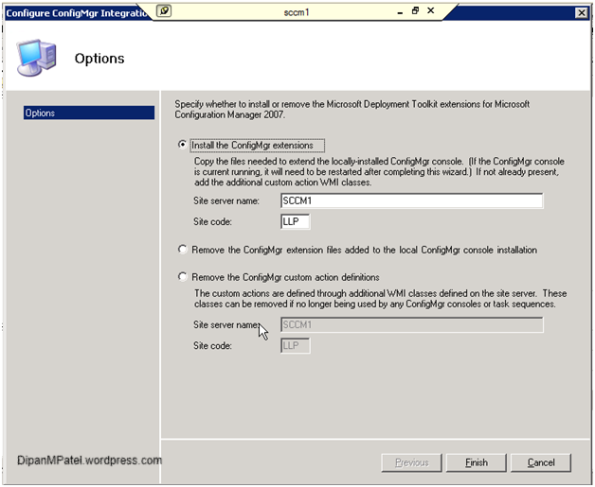
It will already pre-populate the fields with the site server name and site code, click Finish
Now the preparation is done for OSD.
IT IS IMPORTANT THAT YOU DO NOT MODIFY ANY WDS SETTINGS ON THE SCCM SERVER.
DO NOT MAKE ANY CHANGES IN THE DHCP SCOPE OPTIONS THEY ARE NOT NEEDED WHEN THE WDS SERVER AND
DHCP SERVER ARE ON SEPARATE SERVERS BUT ON THE SAME SUBNET.
Microsoft ConfigMgr Client Health Reporting Setup
Platform – Windows Server 2008 R2
ConfigMgr Version – Microsoft System Centre Configuration Manager 2007 R2
To enable Client Status Reporting you must first install it from the R2 Media
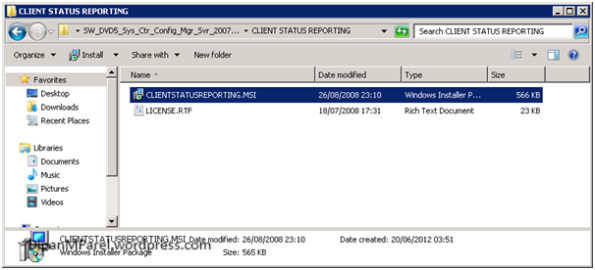
Double click on CLIENTSTATUSREPORTING.MSI

Click Next

Accept the License Agreement and click Next

Click Next if you plan to keep the default installation directory or click Browse to specify another.

Click Next
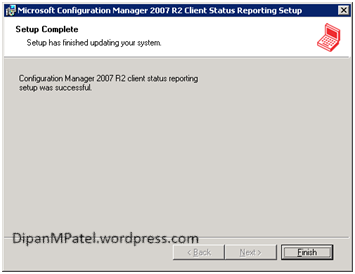
Click Finish to Close
Once completed this installs a new service. (See Below)

To configure the service click Start\All Programs\Microsoft Configuration Manager 2007 R2 Client Status Reporting\Configure Client Status Reporting.

Enter in the database settings for your ConfigMgr server and the Service Account Credentials. (I’ve selected the local system account for this service) Once entered click OK you will be asked to restart the service.

Click on Options and you can set the Client Activity Periods based on the schedule you set on the ConfigMgr console.
Click on the Schedule tab

Here you can specify Client Pulse\Ping Settings, I’ve placed a tick in both then clicked on Schedule and cleared all the check boxes as I do NOT want this to run on a schedule I want to manually control the task by clicking “Run Now” click OK once done.
Once this has been configured you need to import the new reports into ConfigMgr, Expand Computer Management\Reporting\Reports right click and select Import Objects.


Click Next

Click Browse and navigate to C:\Program Files (x86)\Microsoft ConfigMgr Client Status\Reports\ClientStatusReports.mof then click OK and click Next.

Click Next

Click Next and the import begins.

Click Finish.
Refresh the Reports and sort by category and you will see 6 new report available.

Setting up Windows Updates with ConfigMgr
When I first looked into using the Windows Update feature of ConfigMgr I realized there are a few ways you can leverage ConfigMgr to manage Windows Updates; all of course depending on your companies’ requirements\polices, below is only one way.
After I installed the SUP and ran a Synchronisation, updates were showing in the repository. I then created my Search Folder and next had to create a Deployment Template.
Expand Computer Management\Software Updates then right click Deployment Template and click New Deployment Template, type a suitable name and click Next. (I used “All Windows 7 Updates”)

Click Next
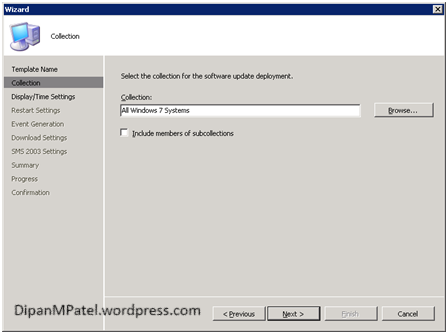
Click browse and select the collection All Windows 7 Systems

Here you can choose to allow updates notifications, I placed a tick to Allow notifications and Client Local Time then clicked Next.

Even though this template is only looking at All Windows 7 Systems I placed a tick to suppress restarts on Server then click Next

Click Next (I don’t have OpsMgr)

Place a tick in Download software updates from Distribution Point and Install, Click Next

I have no SMS 2003 client so I just clicked Next to the Summary then Next and Close. The newly created Deployment Template will appear once you have refreshed.
I then created a Share on the disk where WSUS is installed to called All Windows 7 Updates (My ConfigMgr installation is on another disk) and added the following share permissions (Keep in mind this is a lab)
Share Permissions
Everyone – Full Control
Administrators – Full Control
NTFS Permissions
Authenticated Users – Full Control
Domain Users – Modify
Administrator – Full Control
The next step is to create a Deployment Management Task
Browse to your Search Folder (See – Creating a Search Folder) then select all the updates you want to deploy then right click and select Deploy Software Updates.

Enter a name and click Next

Click Next

Click on “Create a new deployment package” Give it a name, then under package source browse to the “All Windows 7 Updates” share you created earlier. Set the sending Priority and place a tick in “Enable binary differential replication” and click Next
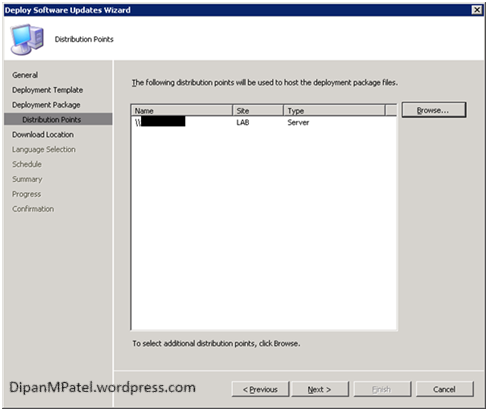
Click Browse and select your Distribution Point, click Next
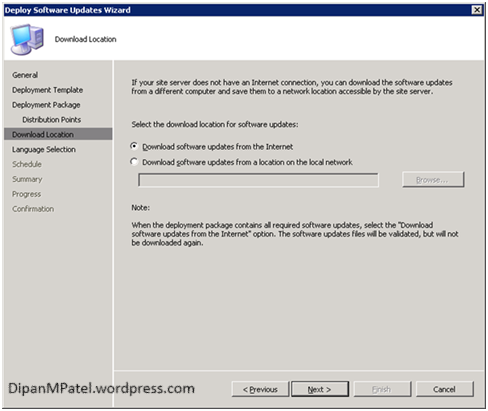
Click Download updates from the Internet, click Next

Select the Language then click Next

Click Next
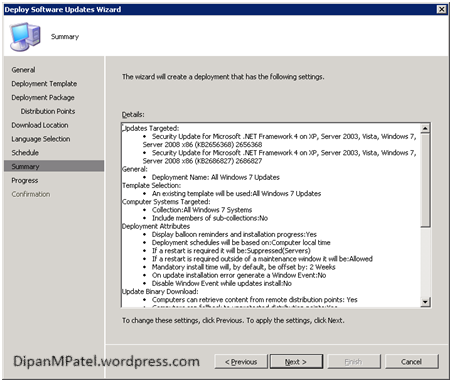
Click Next


You may need to click Refresh, but the deployment package will appear.
Installing WSUS Server Role for ConfigMgr 2007
Launch Server Manager then select the Windows Server Updates Service.

Click Next
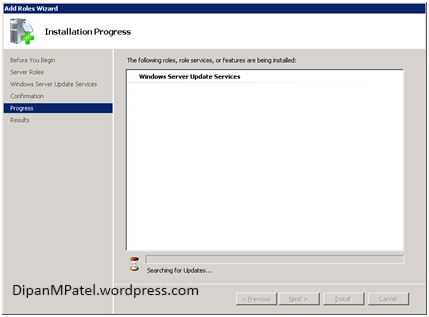
Click Install

Click Next
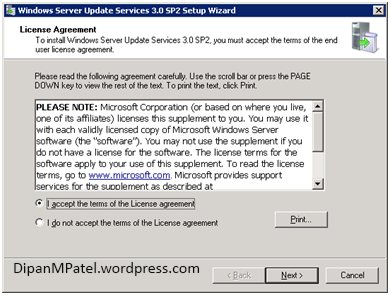
Accept the License Terms and Click Next

Select the path to install update and click Next

Select where to install the database, in this case the ConfigMgr SQL instance is called “SCCM” click Next
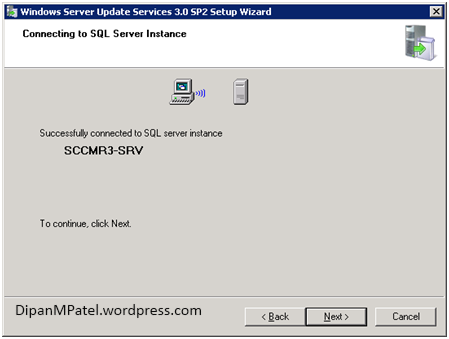
Click Next

Click Next – I’ve chosen to use the existing IIS Default website.

Click Next
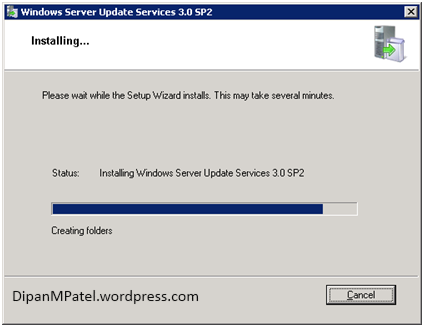
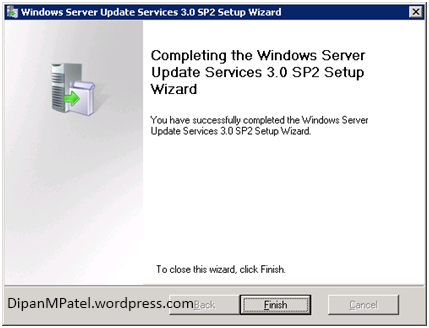
Click Finish and the configuration wizard begins click Cancel to this as configuration is done via ConfigMgr Console.

Click Close here
